When you think of bullet journaling you don’t always think of using stamps. When most people think of stamps, they think of postage stamps.
However, the stamps I am going to be talking about are often referred to as rubber stamps or silicone stamps. However, these stamps come in many shapes and sizes.
Bullet journal stamp sets are a great way to quickly add detail to any bullet journal spread, if you're pushed for time or just want to add a little extra something, they can be a great addition.
Here is our guide to using stamps in your bullet journal as well as some of our favourite stamp sets!
How To Use Stamps In Your Bullet Journal
Stamps can sound overwhelming to some people. However, they are an incredibly simple way to add some creativity and functionality to your bullet journal. Here is a quick and simple guide on how to use a stamp in your journal.
Step #1: Preparing the Stamp
The first step is often the most difficult. First, you much choose your stamp and ink. Then, once you’ve decided, you have to decide exactly where you’d like the stamp.
I recommend planning out the location and practising on scrap paper before you go in with ink, especially if you are new to using stamps.
Step #2: Adding The Ink
Now that you’ve planned out what stamp you will use and where you will put it, its time to add ink.
Press the stamp into the ink pad. You will want to be sure that you cover the entire stamp pad with ink.
If your stamp is larger than the ink pad, you can add ink to your stamp in sections. However, do this quickly so that the ink does not dry.
For more advanced users, you can paint onto the stamps using various paints such as watercolour paints.
Painting onto the stamp will allow you to add more detail. Again, do this quickly so that the paint or ink does not dry before adding it to your page.
Step #3 Stamping Your Bullet Journal
You must put your stamp on the page immediately after adding the ink. As I’ve already mentioned, you do not want the ink to dry.
Now that you’ve got ink on your stamp, slowly place your stamp on your page. You will want to be sure that you’ve placed the whole stamp down at the same time.
Placing the stamp all at once will help you to avoid warping the design. I also recommend you are sure the page is secure and will not move beneath your stamp.
Once you’ve pressed the stamp down on the page evenly, lift the stamp off the page and allow the page to dry.
Step #4: Cleaning Your Stamp
Cleaning your stamp is an important and often forgotten step. Be sure that you wash all the ink off you stamp so that it does not dry and cake up the stamp.
If you allow the ink to dry on the stamp, it could be reactivated the next time you go to use the stamp and change the colouring. If the ink or paint gets caked on the stamp, the design on the stamp can be warped and changed.
In order to wash your stamp without ruining the wood handle, wet a napkin or paper towel. You can stamp onto the wet paper towel until there is no more ink on the stamp.
Amazing Stamps Sets You Must Have
Now that you know how to use stamps properly, here are some amazing stamp sets that we highly recommend!
Alphabet and Number Stamps Set
This stamp set is probably one of the most basic stamp sets available. This stamp set includes upper and lower case letters as well as numbers and some common symbols.
This set was the first one I bought when I started using stamps. I like this stamp set because it makes stamping out letters and dates simple.
Additionally, the font is pretty classic and always reminds me of a newspaper or a more antique style. I highly recommend this stamp set for bullet journalers who are new to using stamps. When practising using this stamp, lined paper is super helpful!
Water Tracker Stamp by Creatiate
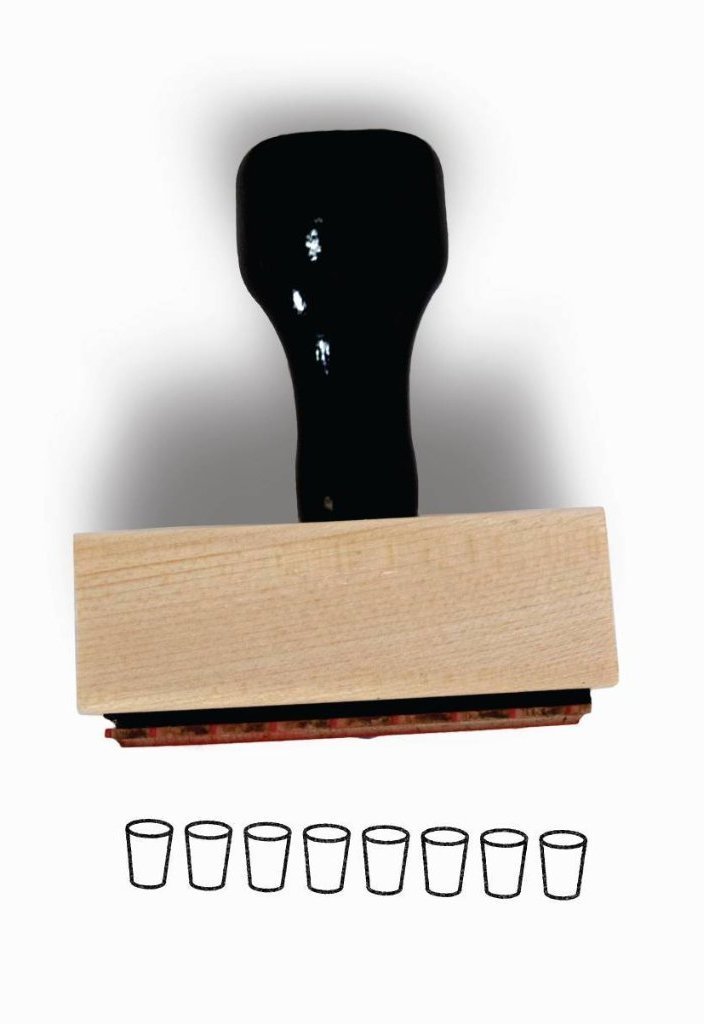
I have recently begun using this stamp in both my own bullet journal and my client’s journals. What I love about this stamp is not only it’s quality but its usefulness.
Little water glasses are a huge pain to draw once, let alone over and over again. Having this little stamp makes your water tracking flawless and beautiful! No more misshapen water glasses!
Additionally, the stamp includes 8 glasses which lines up well with the recommended 8 by 8 water rule.
If you aren’t aware of this rule, it is recommended that the average adult drinks eight 8-oz glasses of water each day.
Clear Stamp Diary Book
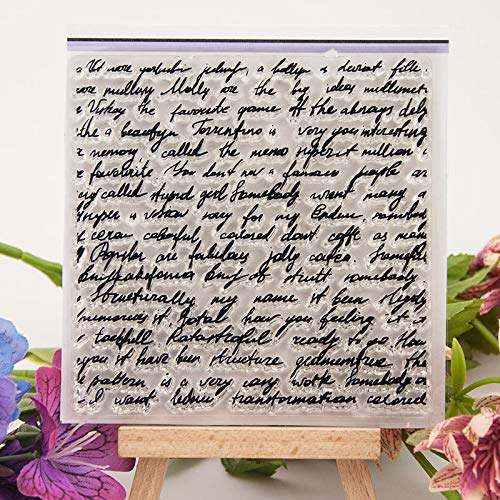
I do not have this stamp, but I do have one just like it that I was given to me. I love this script or diary book type stamp as a cool backdrop for your bullet journal. If you love to get really creative, you can use this stamp to throw in a grey background on your page.
Additionally, you can tape off the sections of your layouts you plan to write in and stamp the diary page in all the empty space left over!
Since this stamp is acrylic and is clear, it’s super easy to see where you want your stamp to go as well as how it will look before you even add ink!
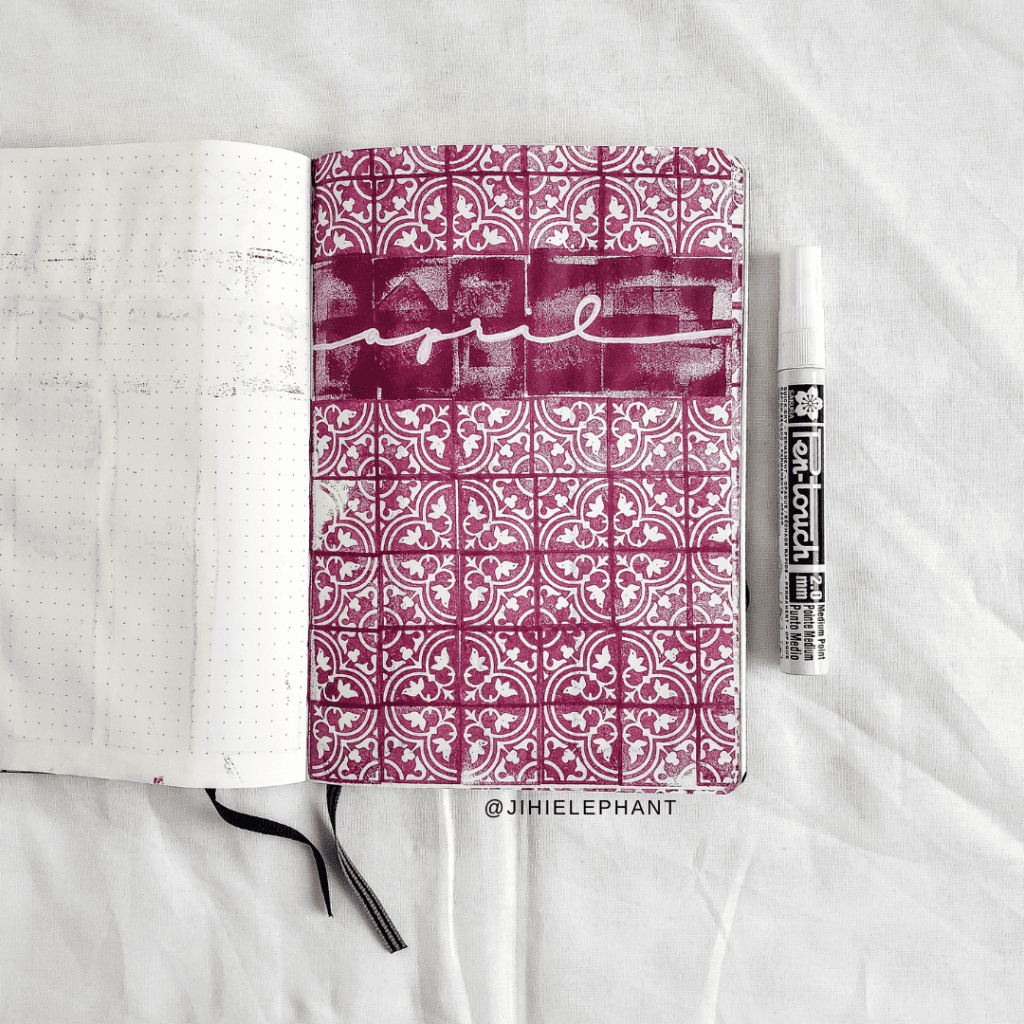
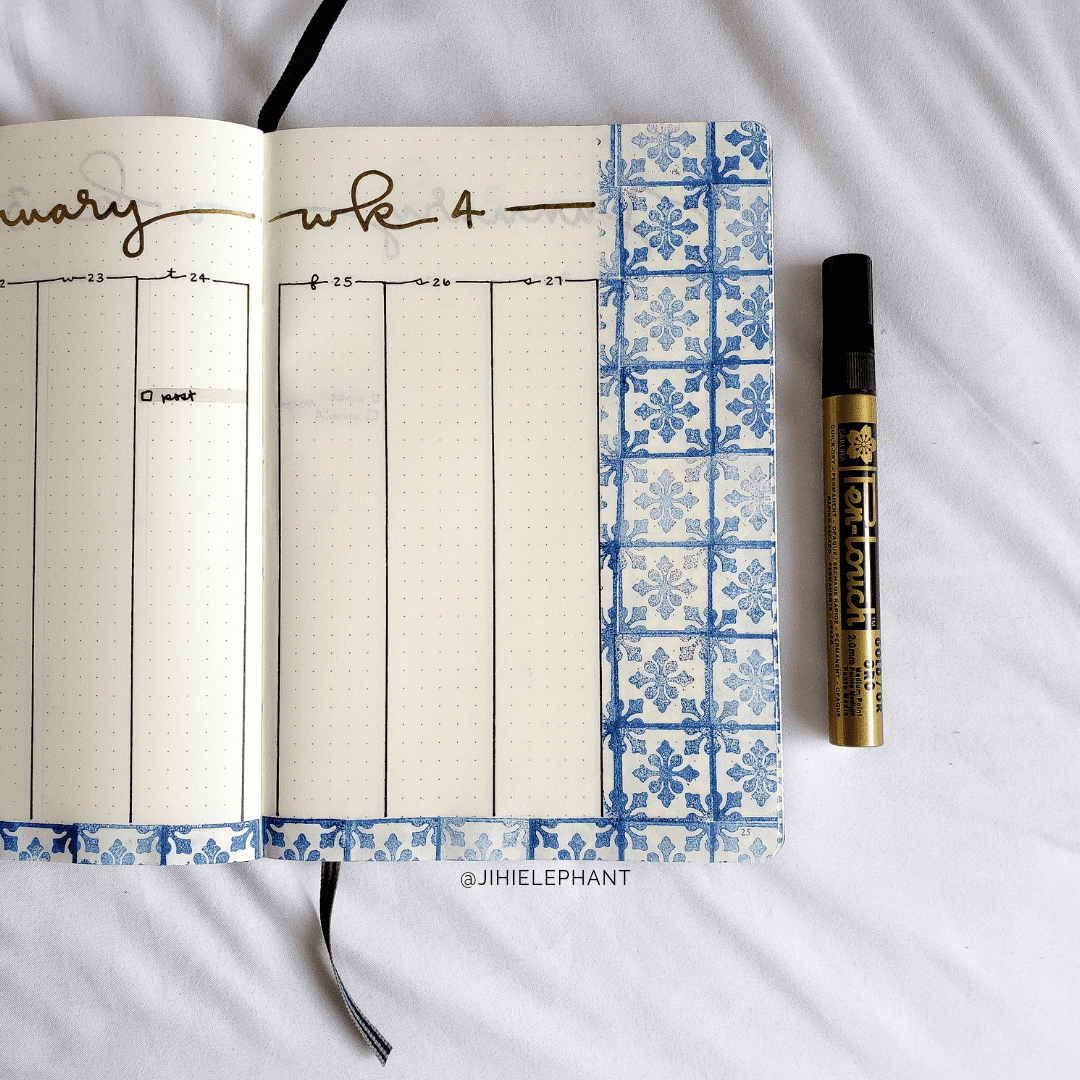
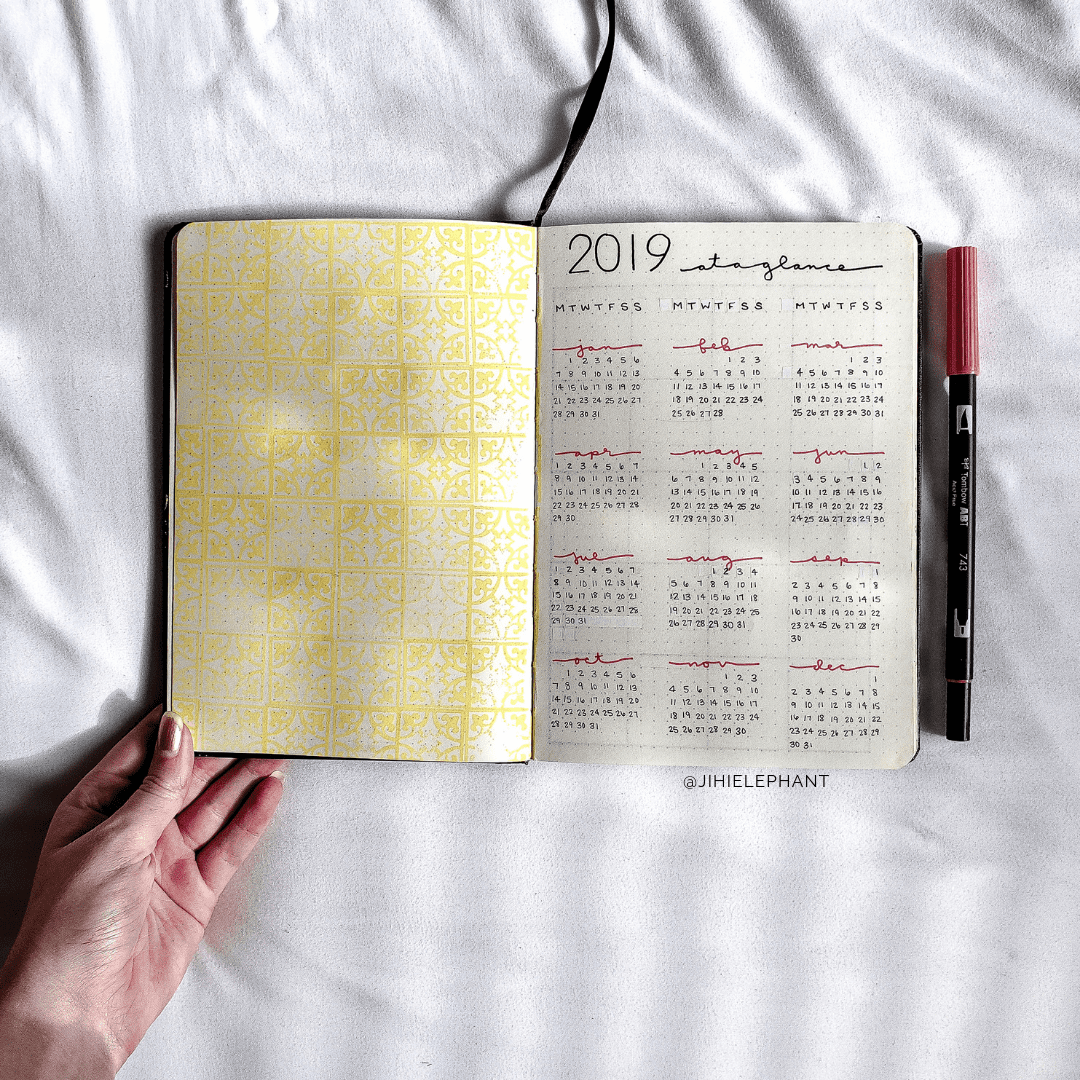
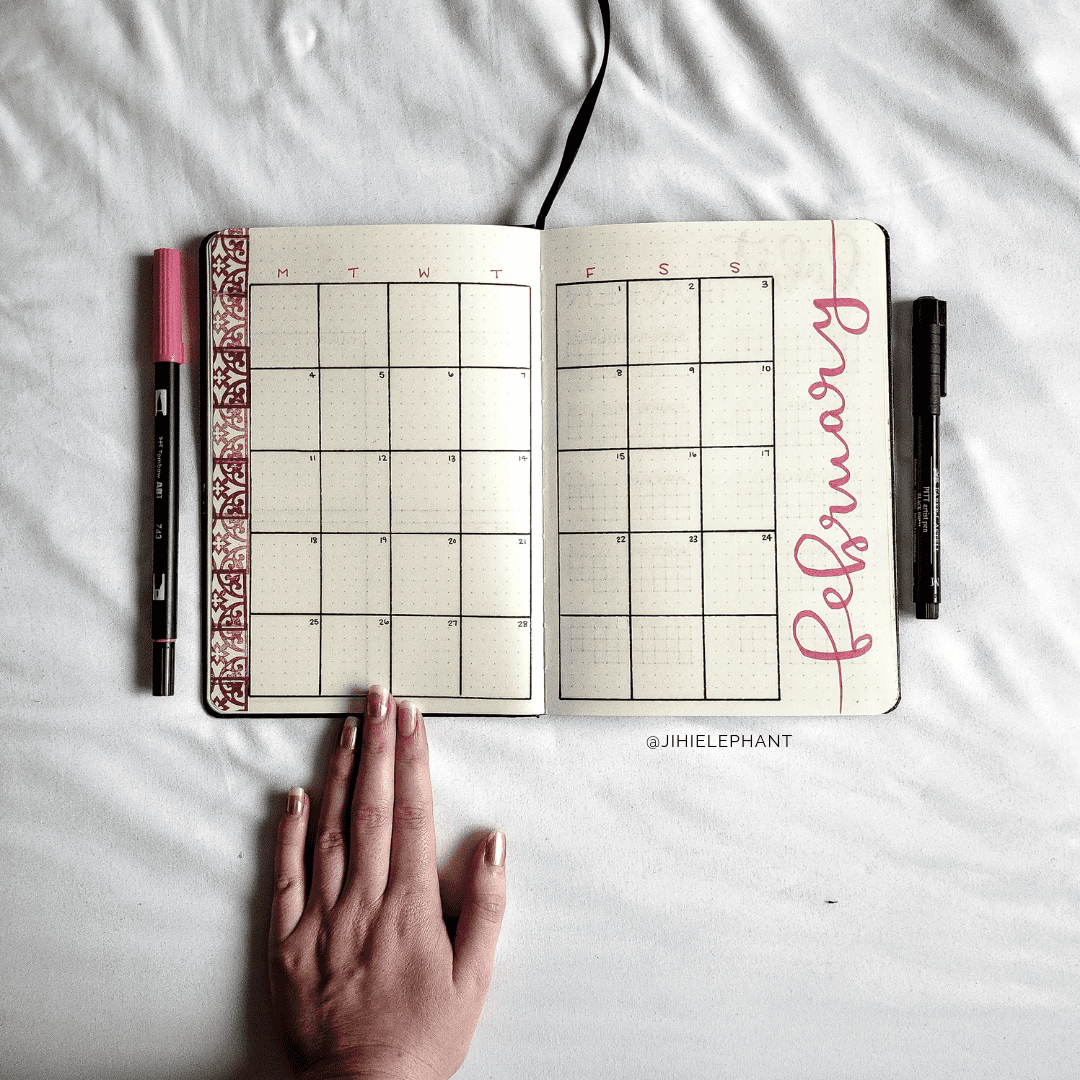
Moroccan Tile Stamp Set
This stamp set is my absolute favourite and I use it ALL the time. This stamp set is really the only of its kind that I could find.
It’s trendy to draw up Moroccan tiles and other kinds of tiles in bullet journaling. However, drawing the tiles up is incredibly time-consuming and tedious. If you use stamps instead, the task becomes simple, quick, and fun!
Biterswit offers various set sizes so you can choose one that fits your budget. Additionally, you get some ink with this set! For the fun of it, check out these layouts I’ve created using these amazing stamps!
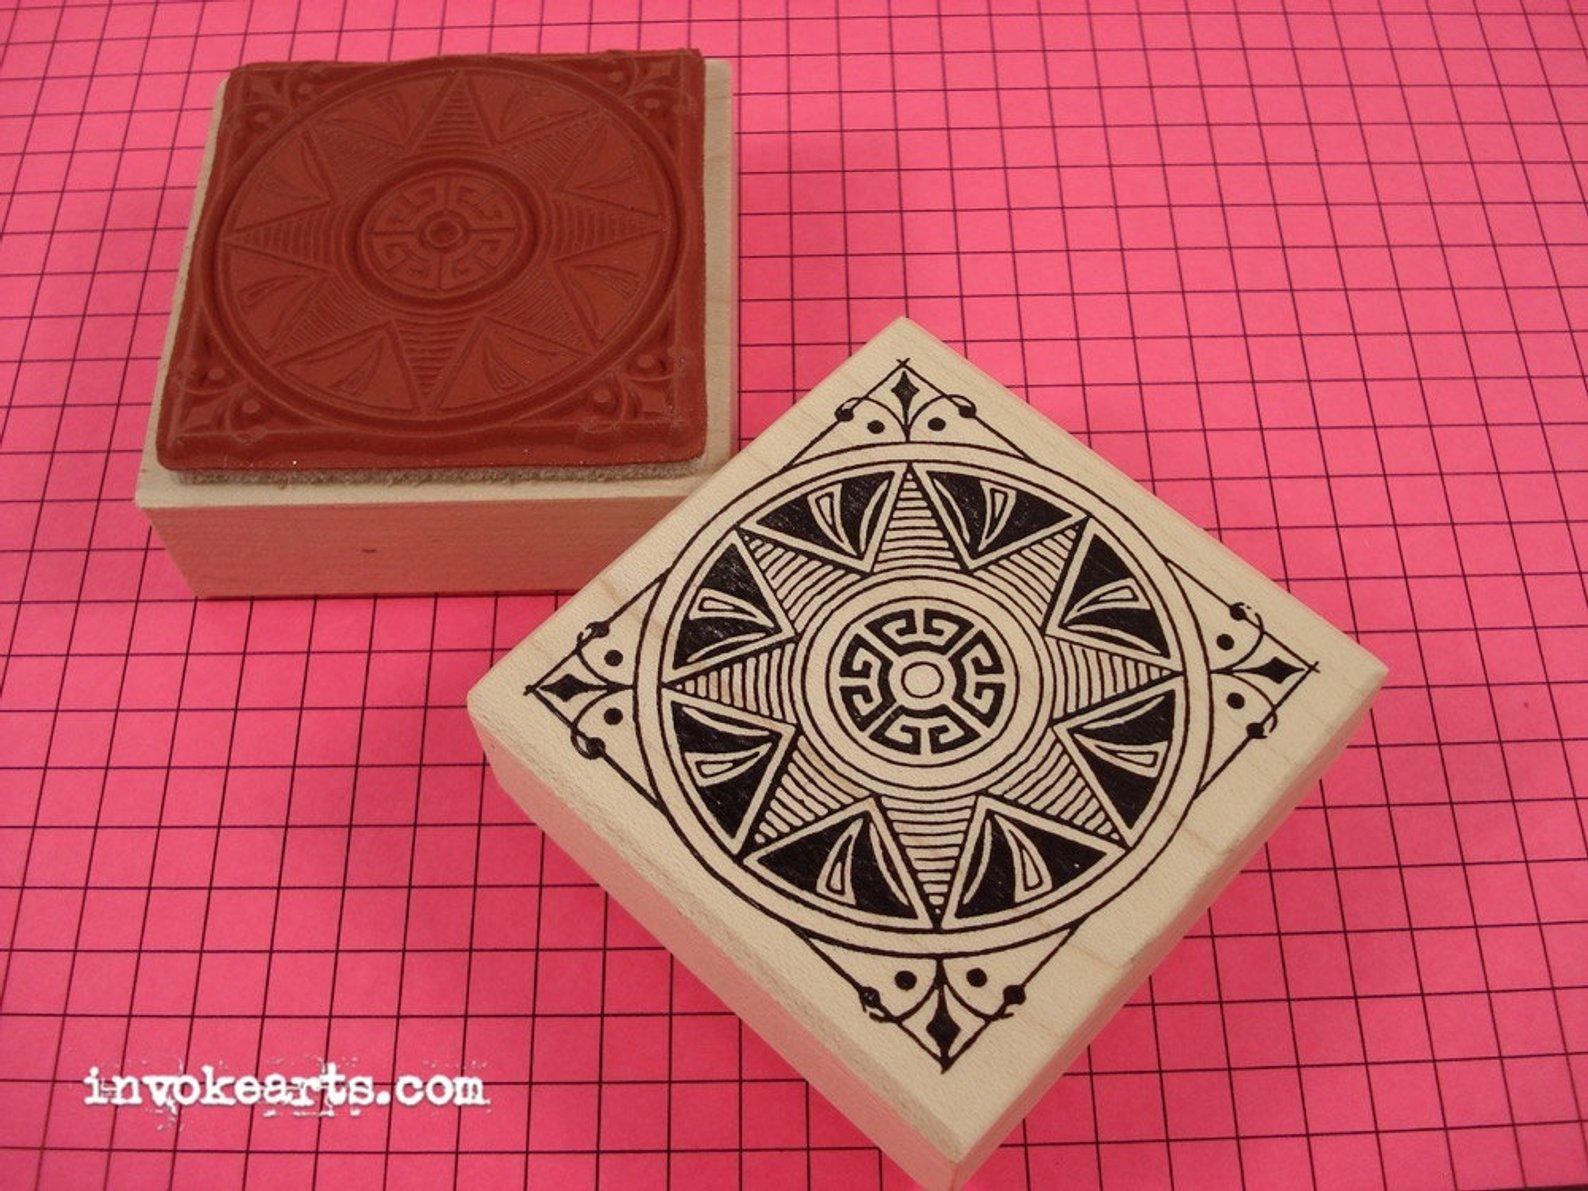
Starlight Square Stamp
This stamp is very similar to tile stamps; however, I really like this one and wanted to share it anyways.
It’s cool because of its size as well as its gorgeous pattern or design. At just over two inches and it is perfect to fill any empty space you’ve got. You can even use it stand-alone or as a tile. The possibilities are endless.
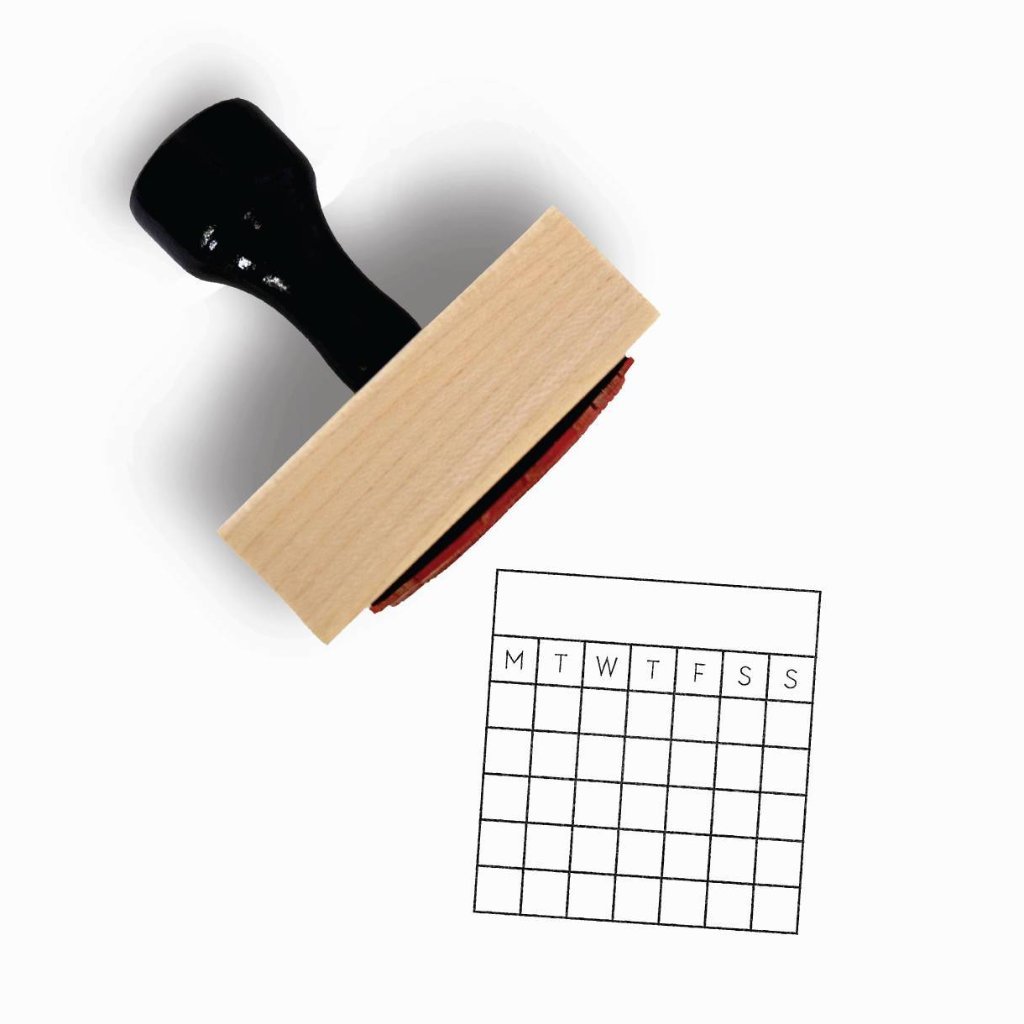
Goal/Habit Tracker And Perpetual Calendar Stamp
This calendar stamp is made by the same company as the water tracking stamp we talked about before. Their stamps are simply amazing!
This one is great because it’s a little calendar. You can use it to mark of habits or goal achievement. Or, if you do not track habits, you can simply fill it in to be a little monthly calendar.
The one I am showing here starts on Monday, but they offer one that starts on Sunday as well. I love the utility and quality of this stamp.
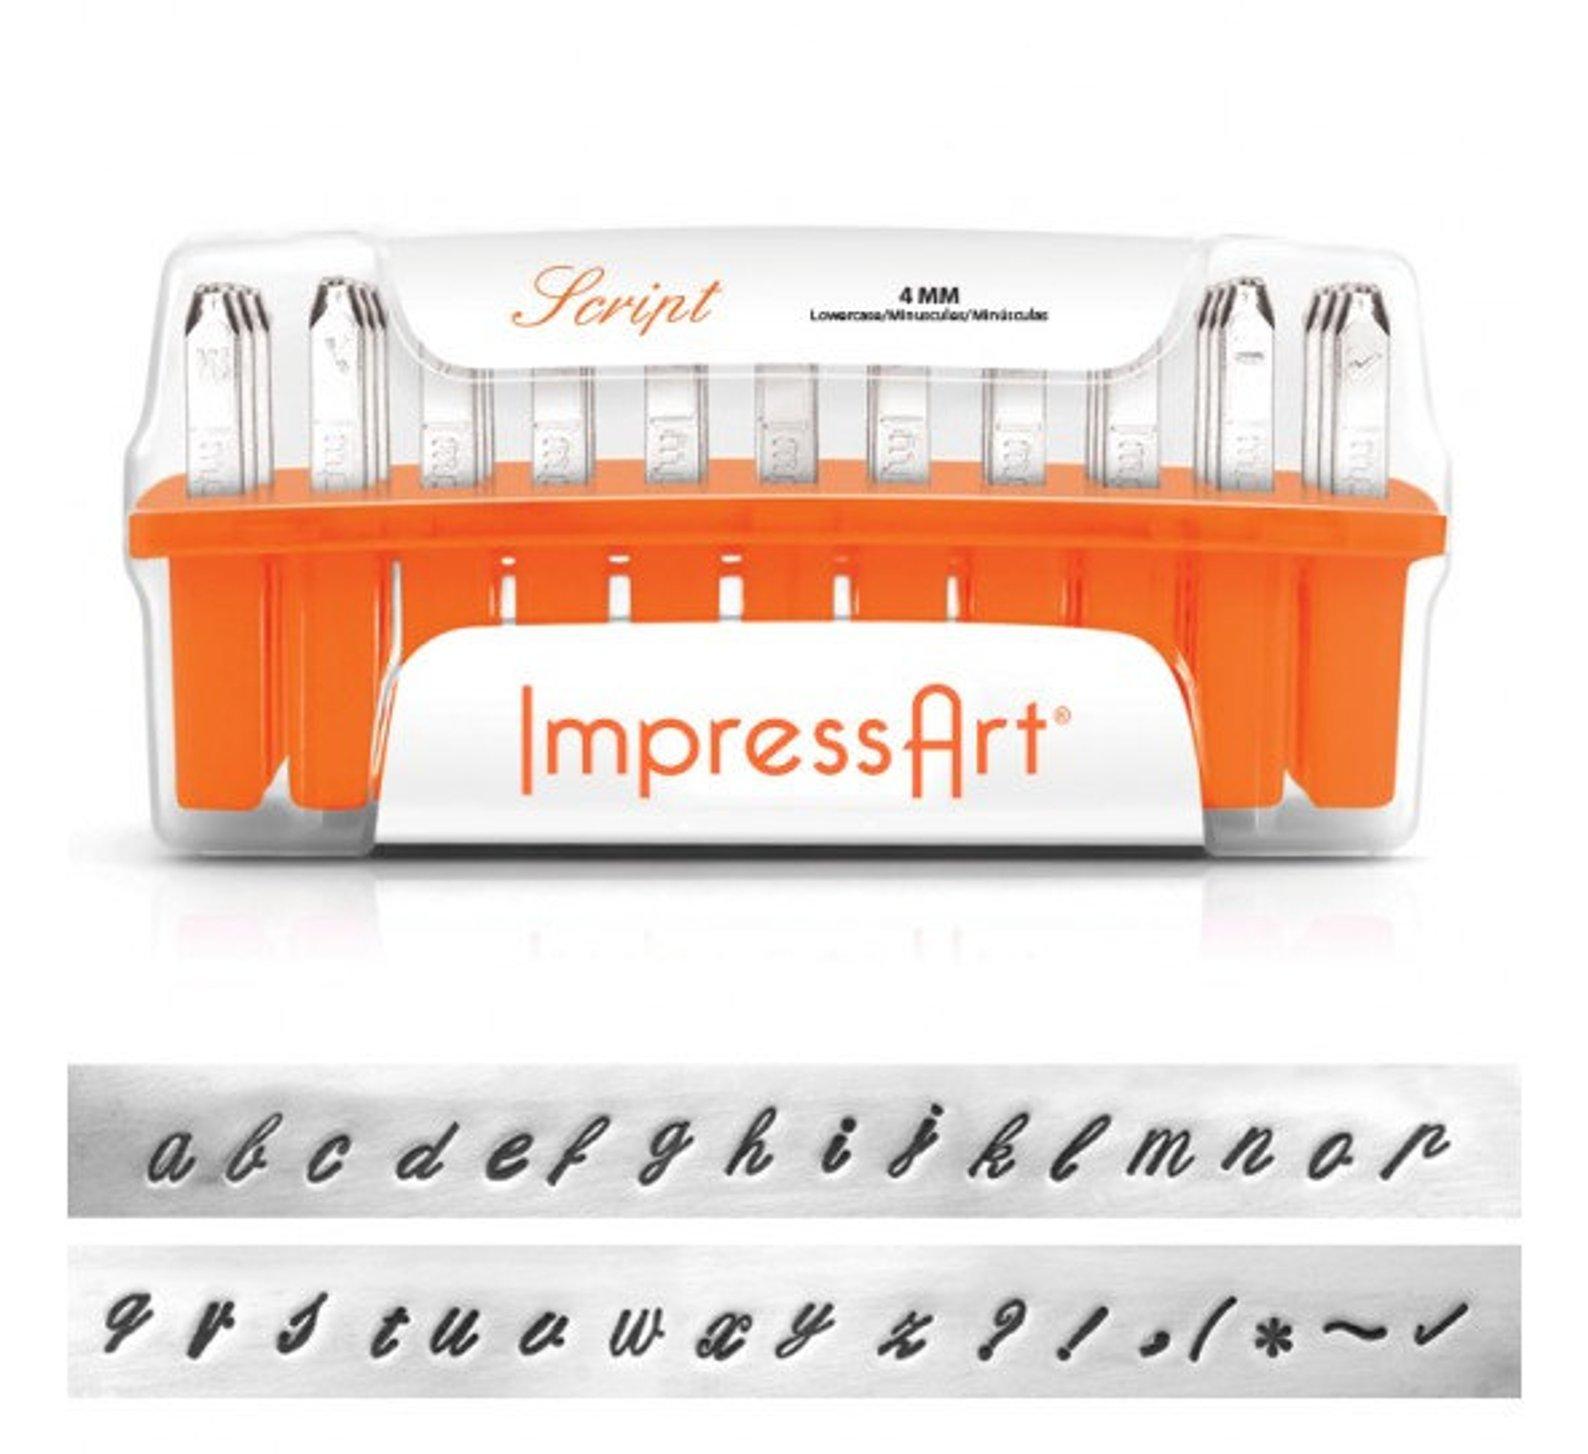
ImpressArt Metal Script Lettering Stamp Set
This stamp set is similar to the first one we talked about in that its a simple set of letters, numbers, and common symbols. There are a few things that make this set stand out from the first.
First, this set is metal instead of wood or acrylic.
Second, the letters are in a script lettering instead of a standard font. Having this stamp set in your collection can really come in handy when you’re getting creative with your stamp lettering!
It’s also perfect if your own hand lettering isn’t the greatest. No shame, stamps are here to help!
Highly Recommended Ink Pads
We’ve talked stamps, now lets talk ink. Here are a few of my favourite ink sets.
Avery Carter’s Foam Stamp Pad, 2.75 x 4.25 Inch, Black
I personally use this ink pad for my black ink. I love that its a larger ink pad so most of my stamps fit on it. Plus, you really can’t go wrong with a simple black ink pad.
Versacolor Pigment Ink Pad
Another Creatiate product, these ink pads are amazing quality! Every stamper needs some coloured ink to spruce up their bullet journal and these ink pads are the perfect option. There are so many vibrant colours to choose from. These inks are a MUST!
Bess Craft Ink Pads, 20 Colors
These are a cheap alternative to the coloured ink mentioned before. While not as high a quality nor as big, you still get great ink in 20 amazing colours.
Conclusion
Stamps are such an amazing way to add creativity to your bullet journal. Utilising stamps is also a great way to save you time when creating your journal. With the tools I’ve given you, I hope you’ve found a new way to spruce up your bullet journal.
Know what you know now about stamps and using stamps, do you plan to add stamps to your bullet journaling style?
